DIY Halloween Shirts, creating your own Halloween shirt is a rewarding and creative experience that allows you to express your unique style during the spooky season. Rather than buying something mass-produced, you can create a shirt that is completely customized and reflects your personality. This makes Halloween more exciting and fun!
DIY shirts are also budget-friendly compared to store-bought costumes and decorations. You can make something fantastic at a fraction of the cost while still enjoying a high-quality design. It’s a great project for adults, kids, or families to do together.
DIY Halloween Shirts the Project Materials
To make a successful DIY Halloween shirt, you need the right materials. Start with a plain shirt in your preferred color. Cotton shirts work well for DTF transfers because they hold the design well and are comfortable to wear. Consider whether you want a black, orange, or even white shirt to contrast the Halloween-themed prints.
You’ll also need DTF transfer paper, heat-resistant sheets, and a heat press or iron. A good pair of scissors and some masking tape can also be helpful for positioning your design perfectly. Gather everything before starting to ensure a smooth crafting process.
Choosing the Right Halloween Design
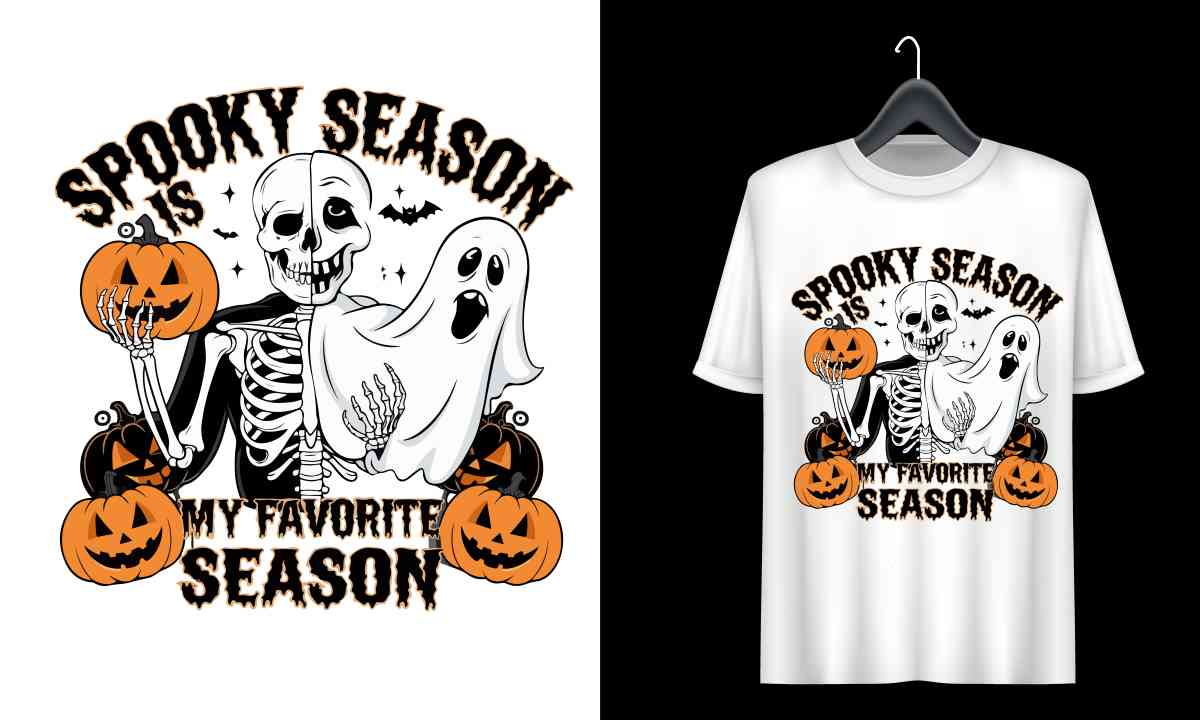
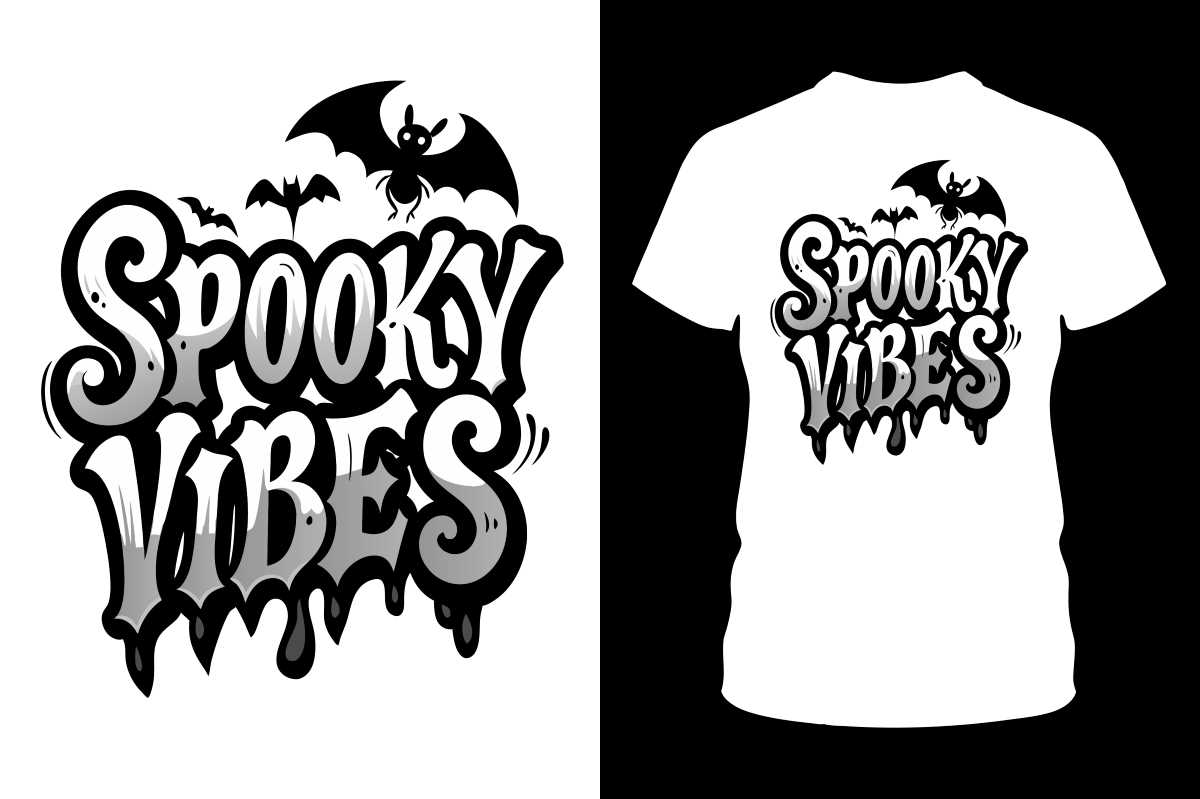
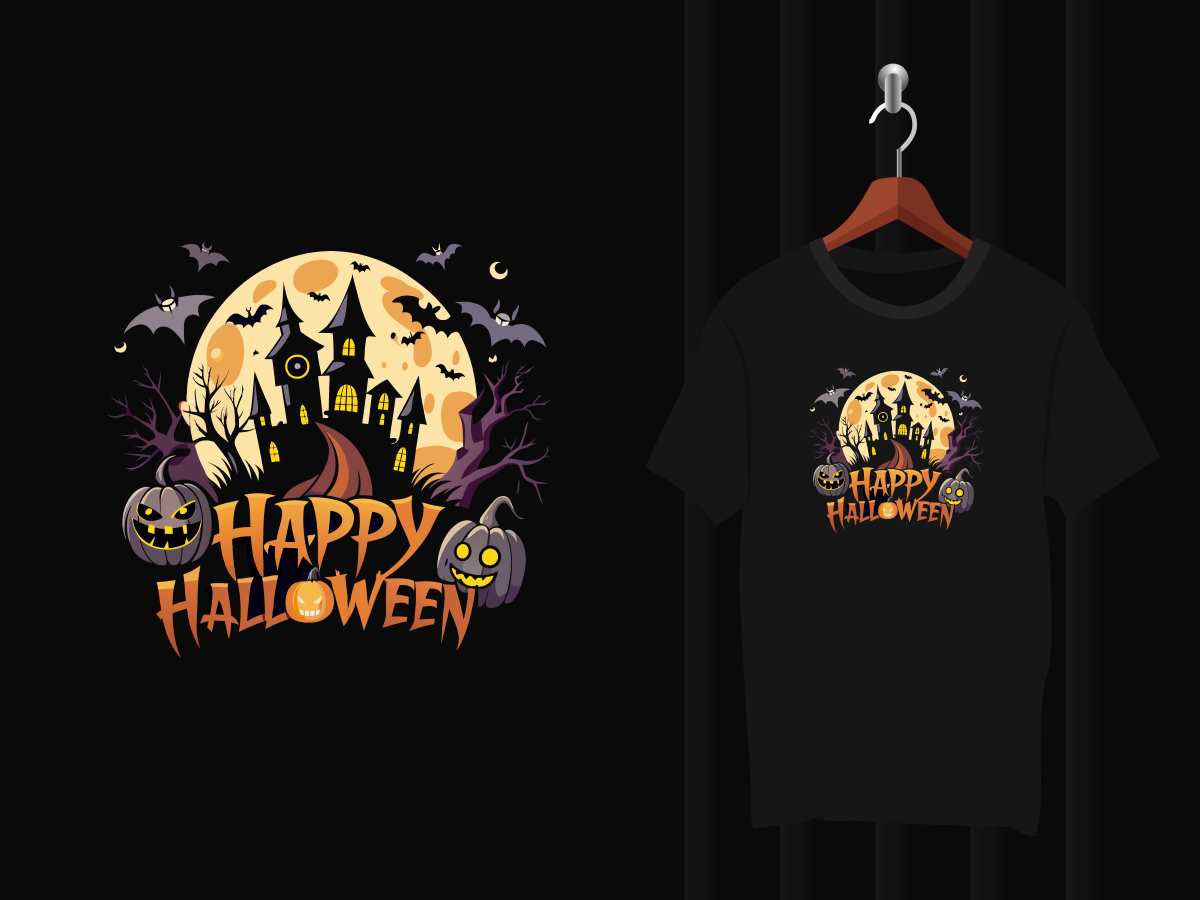
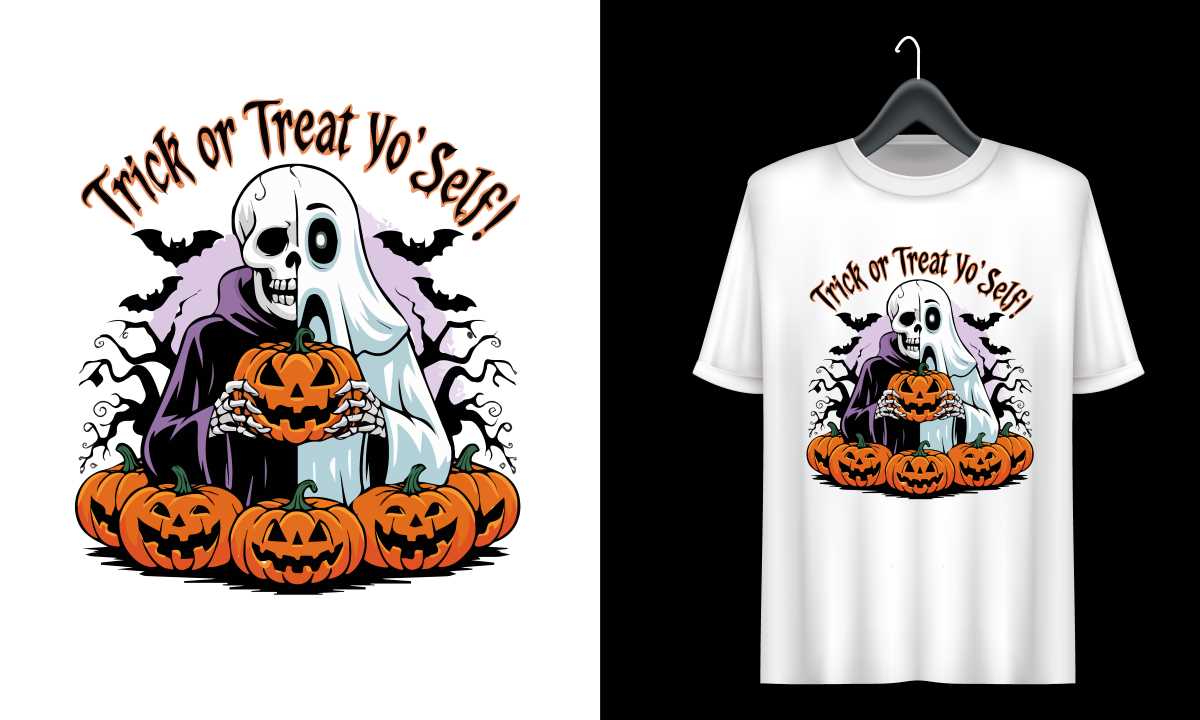
The design you choose will make your shirt stand out. You can go for spooky themes like ghosts, pumpkins, bats, or even something cute like cartoon monsters. Use software to create a personalized design or find ready-made designs online that suit your taste. The options are endless!
If you want something more unique, you could design your shirt with quotes or phrases. “Trick or Treat” or “Boo!” are popular options, but don’t hesitate to get creative with text. Bold fonts and strong contrast colors are particularly effective for making your shirt pop.
Printing Your DIY Halloween Shirts DTF Transfers
Once you have a design in mind, you need to print it onto DTF transfer film. Make sure to use high-quality film and print settings to ensure your colors are vibrant. Properly loading your printer and double-checking print settings can make a huge difference in the final quality of your shirt.
Test print your design on regular paper before committing to the DTF film. This allows you to check for alignment, color issues, and make sure everything looks as you planned. It’s always better to double-check rather than waste transfer film.

Preparing the DIY Halloween Shirts for Transfer
Before applying the transfer, it’s essential to prepare the shirt correctly. Lay the shirt on a flat, smooth surface to ensure there are no wrinkles, as even a slight fold can ruin your design. If necessary, iron the shirt beforehand to make it as smooth as possible.
DIY Halloween Shirts, position the DTF transfer face-down on the shirt where you want the design to be. Make sure it’s centered and aligned correctly. Using masking tape can help hold the transfer in place while you get ready to apply heat.
Applying Heat to Your DIY Halloween Shirts Design
Now comes the most crucial part of the process – applying heat to transfer the design to the shirt. If you’re using a heat press, set it to the appropriate temperature (usually around 350°F). If using an iron, make sure it is set to “Cotton” with no steam.
Cover the transfer with a heat-resistant sheet to protect it from direct contact with the heat. Press down firmly for about 15-20 seconds, making sure to cover the entire design evenly. This ensures the transfer bonds well with the shirt material.
Peeling Off the Transfer Film
Once the transfer is complete, let the shirt cool down for a few moments. Slowly peel off the transfer film from the shirt, starting from one corner. If any parts of the design are lifting, press again with the heat source before peeling completely.
DIY Halloween Shirts, make sure to peel the film slowly to ensure that all the details of your design have adhered properly. If done correctly, the design should be vibrant and fully transferred onto your shirt with no peeling edges or imperfections.
Different Shirt Styles to Consider
You can make DIY Halloween shirts in a variety of styles. Besides regular t-shirts, consider making long-sleeve shirts or even sweatshirts. These can be great options if you live in a colder area and still want to show off your Halloween spirit comfortably.
Another creative idea is using crop tops or tank tops, especially if you’re aiming for a trendy Halloween look. Combining these different shirt styles with your unique designs can help you create a truly standout Halloween wardrobe that suits your personality.
Tips for Designing Family DIY Halloween Shirts
If you’re crafting Halloween shirts for the entire family, consider creating a theme that ties them all together. For instance, each family member can wear a shirt that depicts a different Halloween character like a ghost, witch, vampire, or mummy. This makes for great group photos!
DIY Halloween Shirts, you could also design shirts with phrases that connect, like “Trick” and “Treat” for couples or “Spooky Squad” for family groups. Matching designs make family outings more festive, especially if you’re attending a Halloween event or going trick-or-treating together.
Caring for Your DIY Halloween Shirt
To make sure your shirt lasts, it’s important to care for it properly. Wash your DIY Halloween shirt inside out in cold water to prevent the colors from fading. Avoid using bleach or harsh detergents, as these can damage both the shirt and the transfer.
For drying, the best option is to hang it up to air dry. If you must use a dryer, choose a low heat setting to prevent the design from cracking or peeling. Proper care will keep your DIY Halloween Shirts looking great for years to come, ready for future Halloweens.
Conclusion
Creating your own DIY Halloween shirt is not only a fun and engaging project but also allows you to have a completely unique costume for the spooky season. By choosing your own design and materials, you can personalize the shirt to reflect your style and creativity. It’s also an excellent project to do with friends or family.
With the right preparation, materials, and application techniques, you can make amazing Halloween shirts that are durable and look fantastic. Take these tips and let your imagination run wild this Halloween. Happy crafting, and may your Halloween be filled with creativity and spooky fun!
Frequently Asked Questions
- Why should I make my own DIY Halloween shirt?
- Making your own DIY Halloween Shirts is a great way to add a personal touch to your spooky wardrobe. It allows you to express creativity while saving money compared to store-bought options. Plus, it’s a fun project for individuals or families alike!
- What materials do I need for a DIY Halloween shirt?
- You will need a plain shirt (preferably cotton), DTF transfer paper, a heat press or iron, scissors, and heat-resistant sheets. These items will help you create a quality and long-lasting design that fits your style.
- What design ideas work best for DIY Halloween Shirts?
- Popular design ideas include pumpkins, ghosts, bats, or quotes like “Trick or Treat.” You can also use cute cartoon graphics or vintage horror themes. Choose something that resonates with your Halloween vibe and personality.
- How do I properly apply DTF transfers to my DIY Halloween Shirts?
- Place the DTF transfer on the shirt, cover it with a heat-resistant sheet, and use a heat press or iron at 350°F for about 15-20 seconds. This process ensures that the design adheres well to the fabric, creating a vibrant look.
- Can I use other methods besides DTF transfers?
- Yes! Iron-on vinyl is a great alternative. Simply cut the vinyl, weed out excess material, and press it onto the shirt using similar heat settings. Both methods can produce impressive, durable results depending on your preference.
- What shirt styles can I use for DIY Halloween Shirtsdesigns?
- In addition to traditional t-shirts, consider using long-sleeve shirts, hoodies, or crop tops. Different styles can add a unique twist to your designs and make your Halloween outfit stand out even more.
- How do I care for my DIY Halloween shirt?
- Wash your shirt inside out in cold water to keep the colors vibrant. Hang dry or use a low-heat dryer setting to prevent damage to the transfer. Proper care ensures your shirt lasts for future Halloweens.
- What are some good family-themed Halloween shirt ideas?
- For families, you can create matching designs like a spooky character theme or phrases like “Trick” and “Treat.” Coordinated shirts make for great group photos and add to the fun of celebrating together.
- Can kids participate in making DIY Halloween shirts?
- Absolutely! Kids love designing their shirts with fun elements like cartoon ghosts, candy, or glow-in-the-dark paint. It’s a great family activity, and they’ll feel proud wearing something they helped create.
- Why are DIY Halloween shirts better than store-bought options?
- DIY shirts are personalized, allowing you to wear a one-of-a-kind design. They’re also more cost-effective, and you have full control over the quality of materials used. Plus, crafting a DIY Halloween Shirts can be a fun and creative project to enjoy during the Halloween season.