
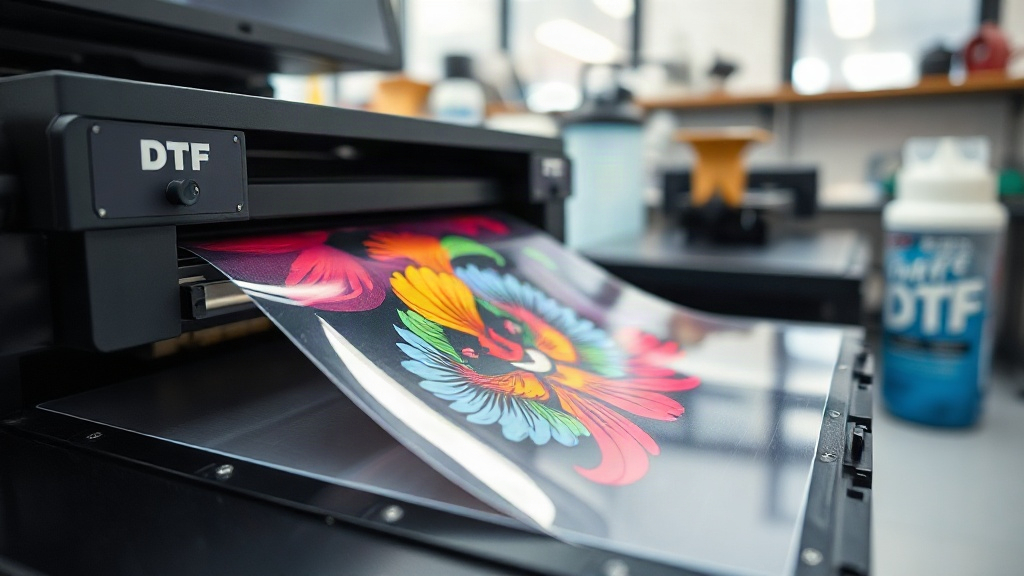
When I first heard about DTF printing, I was skeptical. Could a transfer really adhere to cotton, polyester, and blends without the hassle of weeding? After months of testing, I can confidently say that DTF has become my go-to method for custom apparel. In this guide, I'll share everything I've learned, from choosing the right film to pressing techniques that ensure lasting results.
What Is DTF Printing?
DTF stands for Direct to Film. It's a digital printing process where your design is printed onto a special PET film using water-based inks. A thermoplastic powder is then applied to the wet ink, and the film is cured. Finally, the transfer is pressed onto the fabric with a heat press. Unlike DTG or screen printing, DTF works on virtually any fabric, including dark colors and synthetic blends, without pre-treatment.
Why Choose DTF Over Other Methods?
There are several reasons why DTF has gained popularity among crafters and small businesses:
- Versatility: Works on cotton, polyester, nylon, leather, and more.
- No weeding: Unlike vinyl, you don't need to cut and weed intricate designs.
- Vibrant colors: White ink underbase allows bright prints on dark garments.
- Durability: Properly applied transfers withstand dozens of washes.
- Cost-effective: Low startup cost compared to screen printing.
Essential Supplies for DTF Printing
To get started, you'll need a few key items:
- DTF printer: A dedicated printer with white ink capability (e.g., Epson converted models).
- DTF film: PET film coated for ink adhesion. Available in rolls or sheets.
- DTF ink: Water-based pigment inks designed for film printing.
- Hot melt powder: Thermoplastic polyurethane (TPU) powder for adhesion.
- Heat press: For curing powder and pressing transfers.
- Design software: Photoshop, Illustrator, or free alternatives like GIMP.
Step-by-Step DTF Printing Process
1. Prepare Your Design
Start with a high-resolution image (300 DPI). Mirror the design horizontally before printing, as the film will be flipped when pressed. If your design has fine details, ensure they are at least 1pt thick to avoid breaking.
2. Print on DTF Film
Load the film into your printer with the coated side facing the printhead. Print the design using the appropriate settings: typically, a white ink underbase followed by CMYK colors. Some printers allow you to adjust ink density; more white ink means better opacity on dark fabrics.
3. Apply Hot Melt Powder
While the ink is still wet, sprinkle hot melt powder evenly over the design. Gently shake off excess powder. You want a thin, uniform layer that sticks to the ink. A powder shaker can help distribute it evenly.
4. Cure the Powder
Place the film in a heat press or oven. Cure at 320°F (160°C) for 2-3 minutes. The powder should melt and become glossy. If you see dull spots, increase curing time. Avoid overheating, as it can cause the film to warp.
5. Press the Transfer
Set your heat press to 320°F (160°C) with medium pressure. Pre-press the garment for 5 seconds to remove moisture. Place the transfer on the fabric, powder side down. Press for 15-20 seconds. For best results, use a Teflon sheet or parchment paper over the transfer.
6. Peel and Finish
After pressing, peel the film while it's still warm (warm peel). If you wait until it's cold, the transfer might crack. Once peeled, press again for 5 seconds with a Teflon sheet to smooth the print and ensure full adhesion.
Common DTF Problems and How to Fix Them
Even with experience, issues can arise. Here are some troubleshooting tips:
- Transfer not sticking: Ensure powder is applied evenly and cured properly. Increase pressure or temperature.
- Cracking after wash: Usually due to under-curing or insufficient pressure. Try a longer press time.
- Faded colors: Check ink levels and print settings. More white ink can help.
- Film jamming: Use a film holder or adjust printer settings for thicker media.
Tips for Long-Lasting DTF Prints
To extend the life of your DTF transfers, follow these care instructions:
- Wash garments inside out in cold water.
- Avoid bleach and fabric softeners.
- Tumble dry on low or hang dry.
- Iron on the reverse side, never directly on the print.
Frequently Asked Questions
Can I use DTF on 100% polyester?
Yes, DTF works great on polyester. However, polyester requires lower pressing temperatures (around 280°F) to avoid dye migration. Use a low-temperature powder if possible.
How long do DTF transfers last?
With proper application and care, DTF prints can last 50+ washes. The key is correct curing and pressing.
Do I need a special printer for DTF?
You can convert an Epson printer with DTF ink and a continuous ink system. Alternatively, buy a dedicated DTF printer. Both work, but dedicated printers are more reliable.
What's the difference between DTF and DTG?
DTF uses a film transfer, while DTG prints directly onto the garment. DTF works on more fabrics and doesn't require pre-treatment, but DTG can be softer on cotton.
Can I reuse DTF film?
No, DTF film is single-use. Once the transfer is pressed, the film is discarded.
Starting with DTF printing can feel overwhelming, but with practice, it becomes second nature. The versatility and durability make it a valuable skill for any custom apparel enthusiast. Remember to test different settings on scrap fabric before committing to a full order. Happy printing!