
If you run a small print shop or an online apparel brand, you have probably noticed the growing buzz around DTF transfers. Unlike traditional screen printing or vinyl, this method lets you produce full-color designs on almost any fabric without the setup costs. But while the technology is accessible, getting consistent, wash-durable results requires more than just buying a roll of film. In this guide, I will share what I have learned from working with dtf transfers daily, from choosing the right powder to troubleshooting adhesion issues. Whether you are just starting out or looking to refine your process, these insights will help you avoid costly mistakes and keep your customers happy.
What Are DTF Transfers and Why They Matter
DTF stands for Direct to Film. The process involves printing your design onto a special film using a modified inkjet printer with pigment inks. While the ink is still wet, you apply a hot-melt adhesive powder, shake off the excess, and cure the powder with heat. The result is a flexible, stretchable transfer that can be applied to cotton, polyester, blends, and even some nylons. Unlike DTG, which requires pre-treatment and works best on 100% cotton, dtf transfers bond well to a wide range of fabrics. This versatility makes them a favorite for print shops that handle diverse orders. For small businesses, the ability to offer full-color, short-run prints without investing in screens or plates is a game-changer. It lowers the barrier to entry and allows for quick turnaround on custom apparel, hats, and even tote bags.
How the DTF Process Works Step by Step
Understanding the workflow is key to producing reliable transfers. Here is a breakdown of the essential steps, along with practical tips I have picked up along the way.
1. Design and Print
Start with a high-resolution image. You will need to mirror the design horizontally before printing, as the film is pressed face-down onto the garment. Use a RIP software that supports white ink layering. Typically, you print a white base layer followed by color layers. The white layer is crucial for opacity on dark fabrics. Make sure your printer is well-maintained; clogged nozzles can cause banding that will show up in the final transfer.
2. Apply Adhesive Powder
While the ink is still wet, sprinkle the adhesive powder evenly over the design. I recommend using a powder shaker for consistency. Then, shake off the excess powder into a reclaim bucket. You want a thin, uniform layer. Too much powder leads to a stiff feel and poor wash durability; too little results in weak adhesion.
3. Cure the Powder
Use a heat press or a curing oven to melt the powder. The temperature and time depend on the powder manufacturer's recommendations, but typically it is around 160°C (320°F) for 2-3 minutes. Do not over-cure, as this can cause the powder to become brittle. Once cured, the transfer is ready to be stored or applied.
4. Press onto the Garment
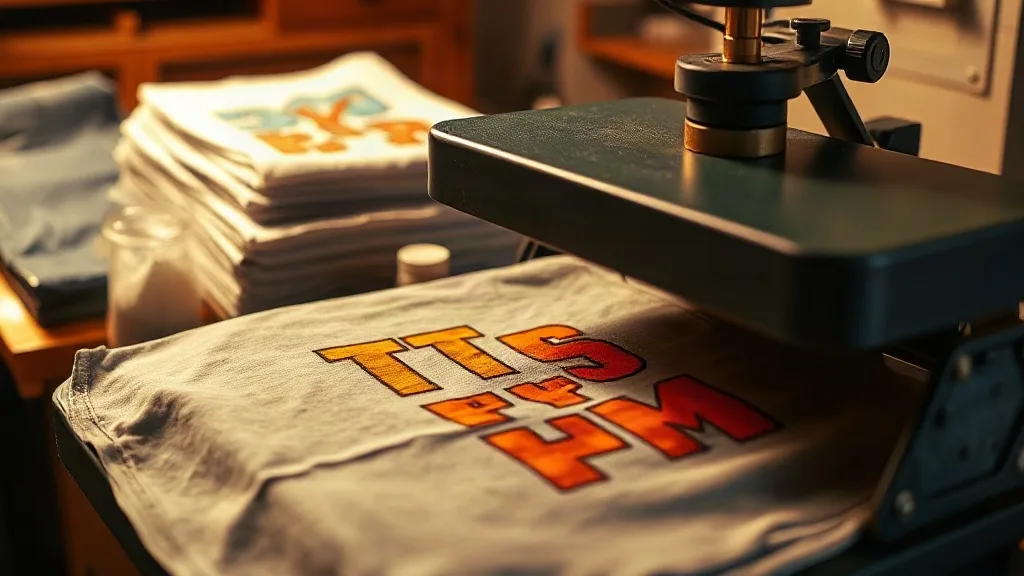
Pre-press the garment to remove moisture. Place the transfer face-down on the fabric and press at 160°C (320°F) for 10-15 seconds with medium pressure. Wait for the film to cool completely before peeling. Cold peel gives a matte finish and better adhesion. For a softer feel, you can try a warm peel, but test first.
Choosing the Right DTF Supplies
Not all films and powders are created equal. The quality of your supplies directly affects the durability and appearance of your transfers. When sourcing dtf transfers, consider the following:
- Film: Look for films that are compatible with your printer and offer good ink absorption. Cheaper films may cause ink spreading or poor powder adhesion.
- Powder: Choose a powder that matches your fabric types. Some powders are formulated for stretch fabrics, while others are more rigid. Always check the particle size; finer powders give a smoother feel.
- Inks: Use pigment inks designed for DTF. Third-party inks can be tempting, but they may clog your printhead or fade prematurely.
I learned this the hard way when I tried to cut costs by buying a generic powder. The transfers looked fine initially, but after a few washes, the design started cracking. Investing in quality supplies from reputable brands saves you from reprints and unhappy customers.
Finding Reliable DTF Transfers Near Me
If you are not ready to invest in a printer, you can order pre-printed transfers from a supplier. But how do you find a good one? Searching for dtf transfers near me might bring up local options, but don't limit yourself to geographical proximity. Many online suppliers offer fast shipping and competitive pricing. When evaluating a supplier, ask for samples. Check the vibrancy of colors, the hand feel, and wash durability. A good supplier will provide clear instructions and stand behind their product. Also, consider turnaround time and minimum order quantities. For small shops, a supplier that offers no minimums and quick shipping can be a lifesaver. I have found that building a relationship with a supplier who understands your needs is more valuable than chasing the lowest price.
Common Mistakes and How to Avoid Them
Even experienced operators run into issues. Here are some frequent pitfalls and solutions:
Poor Adhesion After Washing
This usually stems from insufficient pressure during application or under-cured powder. Ensure your heat press is calibrated and apply consistent pressure. Also, make sure the garment is completely dry before pressing.
Stiff or Rubbery Feel
Too much powder or over-curing can cause a stiff hand feel. Use a finer powder and apply a thin, even layer. Adjust curing time and temperature according to the powder specs.
Color Fading
This can happen if the ink is not properly cured or if low-quality inks are used. Always use recommended inks and follow curing guidelines. Additionally, washing garments inside out in cold water helps prolong the life of the transfer.
DTF vs. Other Printing Methods
How does DTF stack up against screen printing, DTG, and vinyl? Each has its place.
- Screen Printing: Best for large orders with few colors. DTF wins for short runs and full-color designs.
- DTG: Ideal for 100% cotton and soft hand feel, but requires pre-treatment and can be less durable on blends. DTF works on more fabrics and often has better wash resistance.
- Vinyl: Good for simple one-color designs, but limited in complexity. DTF handles intricate details and gradients with ease.
For a small shop, offering DTF alongside other methods allows you to cater to a wider range of customer requests without over-investing in equipment.
Frequently Asked Questions
How long do DTF transfers last?
With proper application and care, DTF transfers can last as long as the garment itself. Expect 50+ washes if applied correctly. Always follow care instructions: wash inside out, cold water, and avoid harsh detergents.
Can I apply DTF transfers to any fabric?
DTF works on most fabrics, including cotton, polyester, blends, and even some nylons. However, fabrics with special coatings or water-repellent finishes may require testing. Always do a test press on a scrap piece first.
Do I need a special printer for DTF?
You can convert a standard inkjet printer to DTF by using DTF inks and film, but it's recommended to use a printer designed for DTF to avoid clogs and ensure longevity. Many affordable DTF printer options are now available for small businesses.
What is the difference between hot peel and cold peel DTF transfers?
Hot peel transfers are peeled immediately after pressing while still hot, resulting in a slightly glossier finish. Cold peel transfers are peeled after cooling, giving a matte finish and often better durability. The choice depends on your preference and the film type.
Where can I buy DTF transfers in small quantities?
Many online suppliers offer no-minimum orders, making it easy for small shops to order just what they need. Look for suppliers that provide sample packs so you can test quality before committing to larger orders.