
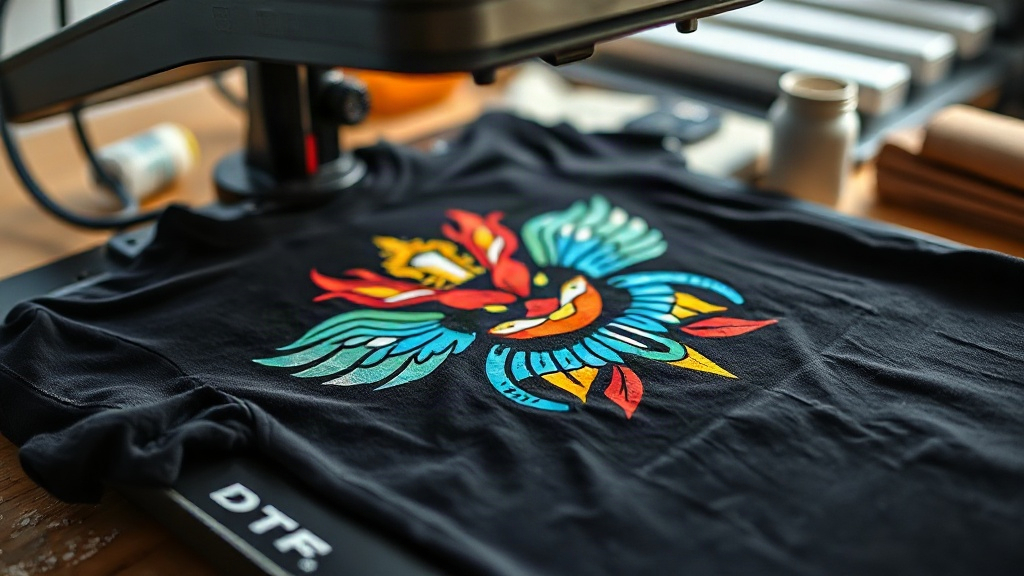
When I first started exploring DTF printing, I was overwhelmed by the conflicting advice online. But after months of trial and error, I discovered a simple workflow that consistently produces vibrant, durable transfers. In this guide, I'll share my personal tips and tricks to help you avoid common pitfalls and get professional results from day one.
What Exactly Is DTF Printing?
DTF stands for Direct to Film. It's a printing method where your design is printed onto a special film, coated with adhesive powder, and then heat-pressed onto fabric. Unlike DTG or screen printing, DTF works on almost any fabric, including cotton, polyester, and blends. That versatility is why it's become so popular among small business owners and hobbyists alike.
Why Choose DTF Over Other Methods?
Cost-effectiveness, no color limitations, and minimal setup make DTF a game-changer for short runs. You don't need expensive screens or pre-treatment, and the prints stretch with the fabric without cracking. Plus, the color vibrancy rivals screen printing, even on dark garments.
Getting Started: Essential Supplies for DTF
Before you dive in, gather these items:
- DTF printer (or a converted inkjet)
- DTF film (matte or glossy)
- DTF ink (CMYK + white)
- Adhesive powder (hot melt or TPU)
- Heat press
- Heat-resistant tape
- Scissors or cutting machine
I recommend starting with a dedicated DTF printer if your budget allows. But if you're testing the waters, a converted Epson with DTF ink can work, though you'll need to manage white ink circulation carefully.
Choosing the Right Film and Powder
Film thickness affects feel and durability. Thinner films (75-100 microns) give a softer hand, while thicker ones (100-150 microns) are more forgiving for beginners. For powder, hot melt adhesive provides a softer finish but requires precise temperature control. TPU powder is more forgiving and works well for stretchy fabrics.
Step-by-Step DTF Printing Process
Here's the workflow I use to get consistent results:
- Design preparation: Mirror your image and ensure it's CMYK. Add a white underbase layer if printing on dark colors.
- Printing: Load the film into your printer and print the design. Let it sit for a minute to let the ink settle.
- Powder application: While the ink is wet, sprinkle adhesive powder evenly. Shake off excess.
- Curing: Place the film in a heat press or oven at 160°C (320°F) for 2-3 minutes until the powder melts and becomes glossy.
- Transfer: Set your heat press to 160°C, press the film onto the fabric for 15 seconds with medium pressure. Peel the film while hot or cold, depending on the film type.
Practice on scrap fabric first to dial in your settings. Small variations in temperature and pressure can make a big difference.
Common DTF Problems and How to Fix Them
Even with experience, issues pop up. Here are solutions to frequent headaches:
- Faded colors: Increase ink saturation or check for clogged nozzles.
- Cracking after wash: Under-cured powder or insufficient pressure during transfer. Increase curing time or pressure.
- Film peeling off: Not enough powder or wrong peel method. Try cold peel if hot peel fails.
- White ink issues: Clogged white channel. Perform regular maintenance and use a circulation system.
Pro Tips for Flawless DTF Transfers
After countless prints, I've learned a few tricks that elevate quality:
- Pre-press the garment for 5 seconds to remove moisture and wrinkles.
- Use a Teflon sheet or parchment paper over the transfer to protect your heat press.
- For stretchy fabrics, add a slight stretch to the garment before pressing to prevent cracking.
- Store unused film in a cool, dry place to prevent curling.
Also, invest in a good heat press with accurate temperature control. A cheap press with hot spots will ruin your results.
DTF vs. Other Printing Methods: A Quick Comparison
How does DTF stack up against DTG, screen printing, and vinyl?
- DTG: Best for 100% cotton, but requires pre-treatment and has limited color vibrancy on dark shirts.
- Screen printing: Cost-effective for large orders, but setup is time-consuming and expensive for multi-color designs.
- Vinyl: Great for simple one-color designs, but layering multiple colors is tedious.
DTF wins for its versatility, vibrant colors, and ability to handle complex designs on any fabric.
Frequently Asked Questions About DTF Printing
How long do DTF prints last?
With proper curing and transfer, DTF prints can last 50+ washes without fading or cracking. Always follow wash instructions: turn inside out, cold water, and no bleach.
Can I use DTF on 100% polyester?
Yes, DTF works on polyester, but use lower heat (150°C) to avoid dye migration. Also, choose a film designed for polyester.
Do I need a special printer for DTF?
You can convert an Epson printer with DTF ink and a film tray, but dedicated DTF printers handle white ink better and require less maintenance.
What's the best way to store DTF film?
Keep film in its original packaging, away from direct sunlight and humidity. Storing it flat prevents curling.
Can I DTF print on dark colors?
Absolutely. The white underbase makes colors pop on dark garments. Just ensure your white ink layer is thick enough.