
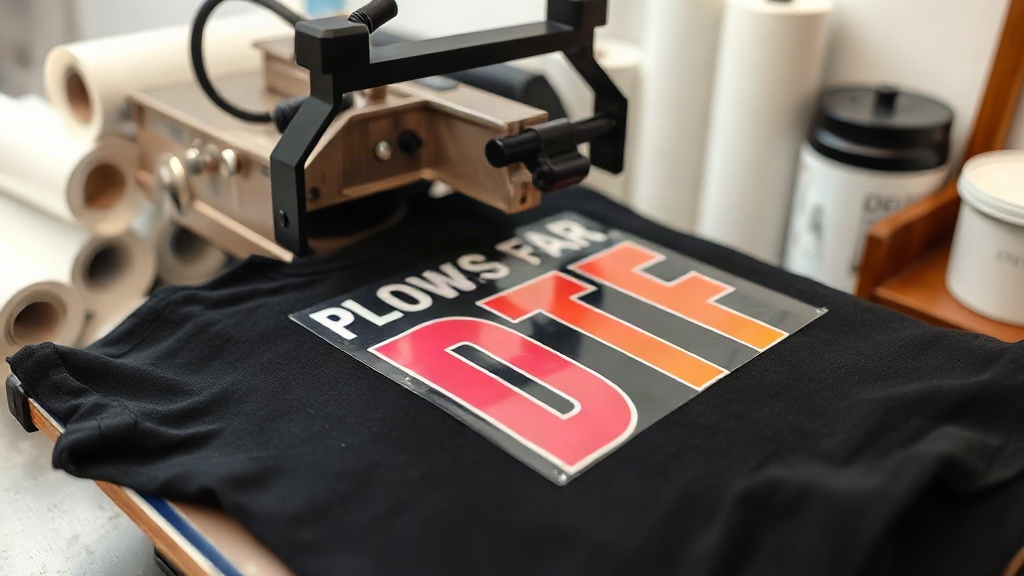
When you first hear about DTF transfers, you might wonder if they are just another fleeting trend in the garment decoration world. But spend a little time in any serious print shop, and you will see that DTF has become a staple for good reason. Unlike methods that require specific fabric blends or extensive setup, DTF opens up a world of possibilities for printing on cotton, polyester, blends, and even hard-to-handle materials like nylon and leather. The process is straightforward: print your design onto a special film, apply adhesive powder, cure it, and then heat press it onto your substrate. The result is a vibrant, stretchable, and durable print that can withstand repeated washing. In this guide, I will walk you through everything you need to know to master DTF transfers, from choosing the right supplies to troubleshooting common issues. Whether you are a hobbyist or a seasoned professional, these insights will help you achieve consistent, high-quality results.
What Exactly Are DTF Transfers?
DTF stands for Direct to Film. It is a printing technology where your design is printed onto a PET film using specialized inks, typically pigment-based. After printing, a thermoplastic adhesive powder is applied to the wet ink. The powder sticks to the ink and is then cured, usually with a heat gun or in an oven. Once cured, the transfer is ready to be applied to a garment using a heat press. The film is peeled away either hot or cold, depending on the film type, leaving the design bonded to the fabric. What sets DTF apart is that it does not require pre-treatment of the fabric, and it works on a wide range of materials. This versatility makes it a favorite for small businesses and DIY enthusiasts alike.
How DTF Differs from DTG and Screen Printing
Direct to Garment (DTG) printing is another popular method, but it requires pre-treatment and works best on 100% cotton. Screen printing, while cost-effective for large orders, involves lengthy setup and is not practical for small batches or complex designs. DTF, on the other hand, has no minimum order quantity, requires no pre-treatment, and can produce intricate, multi-color designs in a single pass. The transfers are also more durable than DTG prints, which can fade or crack over time. Additionally, DTF transfers can be stored and used later, giving you flexibility in production scheduling.
Why Choose DTF Transfers for Your Projects?
There are several compelling reasons to incorporate DTF transfers into your workflow. First, the color vibrancy is exceptional. The pigment inks used in DTF produce bright, opaque colors even on dark garments, without the need for a white underbase. Second, the stretchability of the print is impressive. The adhesive powder and ink combination creates a flexible film that moves with the fabric, preventing cracking. Third, DTF is cost-effective for short runs. You can print one-off designs without incurring setup fees. Finally, the process is relatively clean and simple, making it accessible to beginners. With a modest investment in a printer, film, powder, and a heat press, you can start producing professional-quality transfers.
Applications Beyond T-Shirts
While T-shirts are the most common application, DTF transfers can be used on a variety of items. Think hoodies, tote bags, caps, aprons, and even shoes. The key is to ensure the surface can withstand the heat press temperature and pressure. For items with zippers or buttons, you may need to use a pressing pillow to avoid uneven pressure. DTF is also great for personalizing gifts, such as baby onesies or canvas pouches. The possibilities are limited only by your imagination.
Step-by-Step Guide to Creating DTF Transfers
Creating your own DTF transfers at home is a rewarding process. Follow these steps to ensure success.
- Design Preparation: Start with a high-resolution image. Mirror the design horizontally before printing, as the transfer will be flipped when applied. Ensure your printer settings are configured for DTF film and ink.
- Printing: Load the DTF film into your printer. Print the design using DTF inks. The printer will lay down a layer of white ink first (if your printer has white ink capability) followed by color inks. This white layer is crucial for opacity on dark fabrics.
- Powder Application: While the ink is still wet, sprinkle the DTF adhesive powder evenly over the printed area. Shake off excess powder. You want a uniform coating that adheres to the ink.
- Curing: Cure the powder using a heat gun or a dedicated curing oven. The powder should melt and become glossy. Typically, curing at 320°F (160°C) for 2-3 minutes works well, but always follow the powder manufacturer's recommendations.
- Pressing: Set your heat press to the recommended temperature (usually 300-325°F) and pressure (medium to firm). Place the transfer on the garment, cover with a protective sheet, and press for 10-15 seconds. Peel the film hot or cold as per the film instructions.
Choosing the Right Supplies
Not all DTF films and powders are created equal. Look for films that are designed for your printer type and offer easy peeling. The powder should be fine and consistent; a good quality powder will melt smoothly and create a strong bond. Inks should be specifically formulated for DTF; using regular inkjet inks will not work. Invest in a reliable heat press that maintains consistent temperature and pressure. A heat gun can work for curing, but an oven provides more even results.
Common Challenges and How to Overcome Them
Even with the best supplies, you may encounter issues. Here are some common problems and their solutions.
- Faded or Dull Prints: This often happens when the white ink layer is insufficient or the curing was inadequate. Increase the white ink density and ensure proper curing.
- Cracking or Peeling: If the print cracks after washing, it could be due to insufficient pressure during pressing or over-stretching the fabric. Use consistent, firm pressure and avoid stretching the garment when wearing.
- Powder Not Sticking: This can occur if the ink is too dry before powder application. Work quickly and apply powder immediately after printing.
- Film Sticking to Garment: If the film is difficult to peel, it might be due to incorrect peeling temperature. Check whether your film is hot peel or cold peel and act accordingly.
Tips for Consistent Results
Consistency is key in any printing operation. Keep a log of your settings for each type of fabric and transfer. This will help you replicate successful outcomes. Maintain your printer regularly to avoid clogs and misprints. Store your transfers in a cool, dry place to prevent the powder from absorbing moisture. When pressing, use a Teflon sheet or parchment paper to protect the transfer and the garment. Always test on a scrap piece of fabric before pressing onto a finished item.
Frequently Asked Questions About DTF Transfers
Can I use DTF transfers on 100% polyester?
Yes, DTF transfers work well on polyester. However, because polyester is heat-sensitive, you should use a lower pressing temperature (around 280-300°F) and shorter pressing time to avoid scorching or dye migration. Some polyester dyes can sublimate into the print, so using a low-bleed film or a barrier layer can help.
How long do DTF transfers last?
When applied correctly and cared for properly, DTF transfers can last as long as the garment itself. They are durable and resistant to cracking and fading. To prolong life, wash the garment inside out in cold water and avoid using fabric softeners or bleach. Tumble dry on low or hang dry.
Do I need a special printer for DTF?
You can convert certain inkjet printers to DTF by using DTF ink and film, but for best results, a dedicated DTF printer with white ink channels is recommended. These printers are designed to handle the viscosity of DTF inks and produce consistent white layers. If you are just starting, you might consider outsourcing your transfers to a service like dtfprintkit.com.
What is the difference between hot peel and cold peel DTF film?
Hot peel film allows you to remove the carrier film immediately after pressing while it is still hot. Cold peel film requires you to wait until the transfer has cooled completely before peeling. Hot peel is faster and reduces the risk of the print lifting, while cold peel can sometimes provide a smoother finish. Always follow the film manufacturer's instructions.
Can I layer DTF transfers?
Yes, you can layer DTF transfers to create multi-color or multi-layer designs. Press the first transfer, peel the film, then press the second transfer on top. Use a lower pressure for the second press to avoid flattening the first layer. This technique is great for adding highlights or special effects.